3 Easy Ways To Use VJ Panelling In Your Bathroom
Vertical Joint (VJ) Panelling is an interior design trend used for over 170 years in Australian homes. Its’ history dates back to the 1850s, when it was predominantly used in Queenslander-style homes.
Characterised by its vertical lines and made from medium-density fibreboard, VJ Panelling adds depth and warmth to any space. It is a versatile design element – and it’s making a comeback, not only for the aesthetics but also for its durability and easy installation.
If you’re considering VJ panelling for your bathroom renovation, here’s how it can transform the space.
Benefits of VJ Panelling in Bathrooms
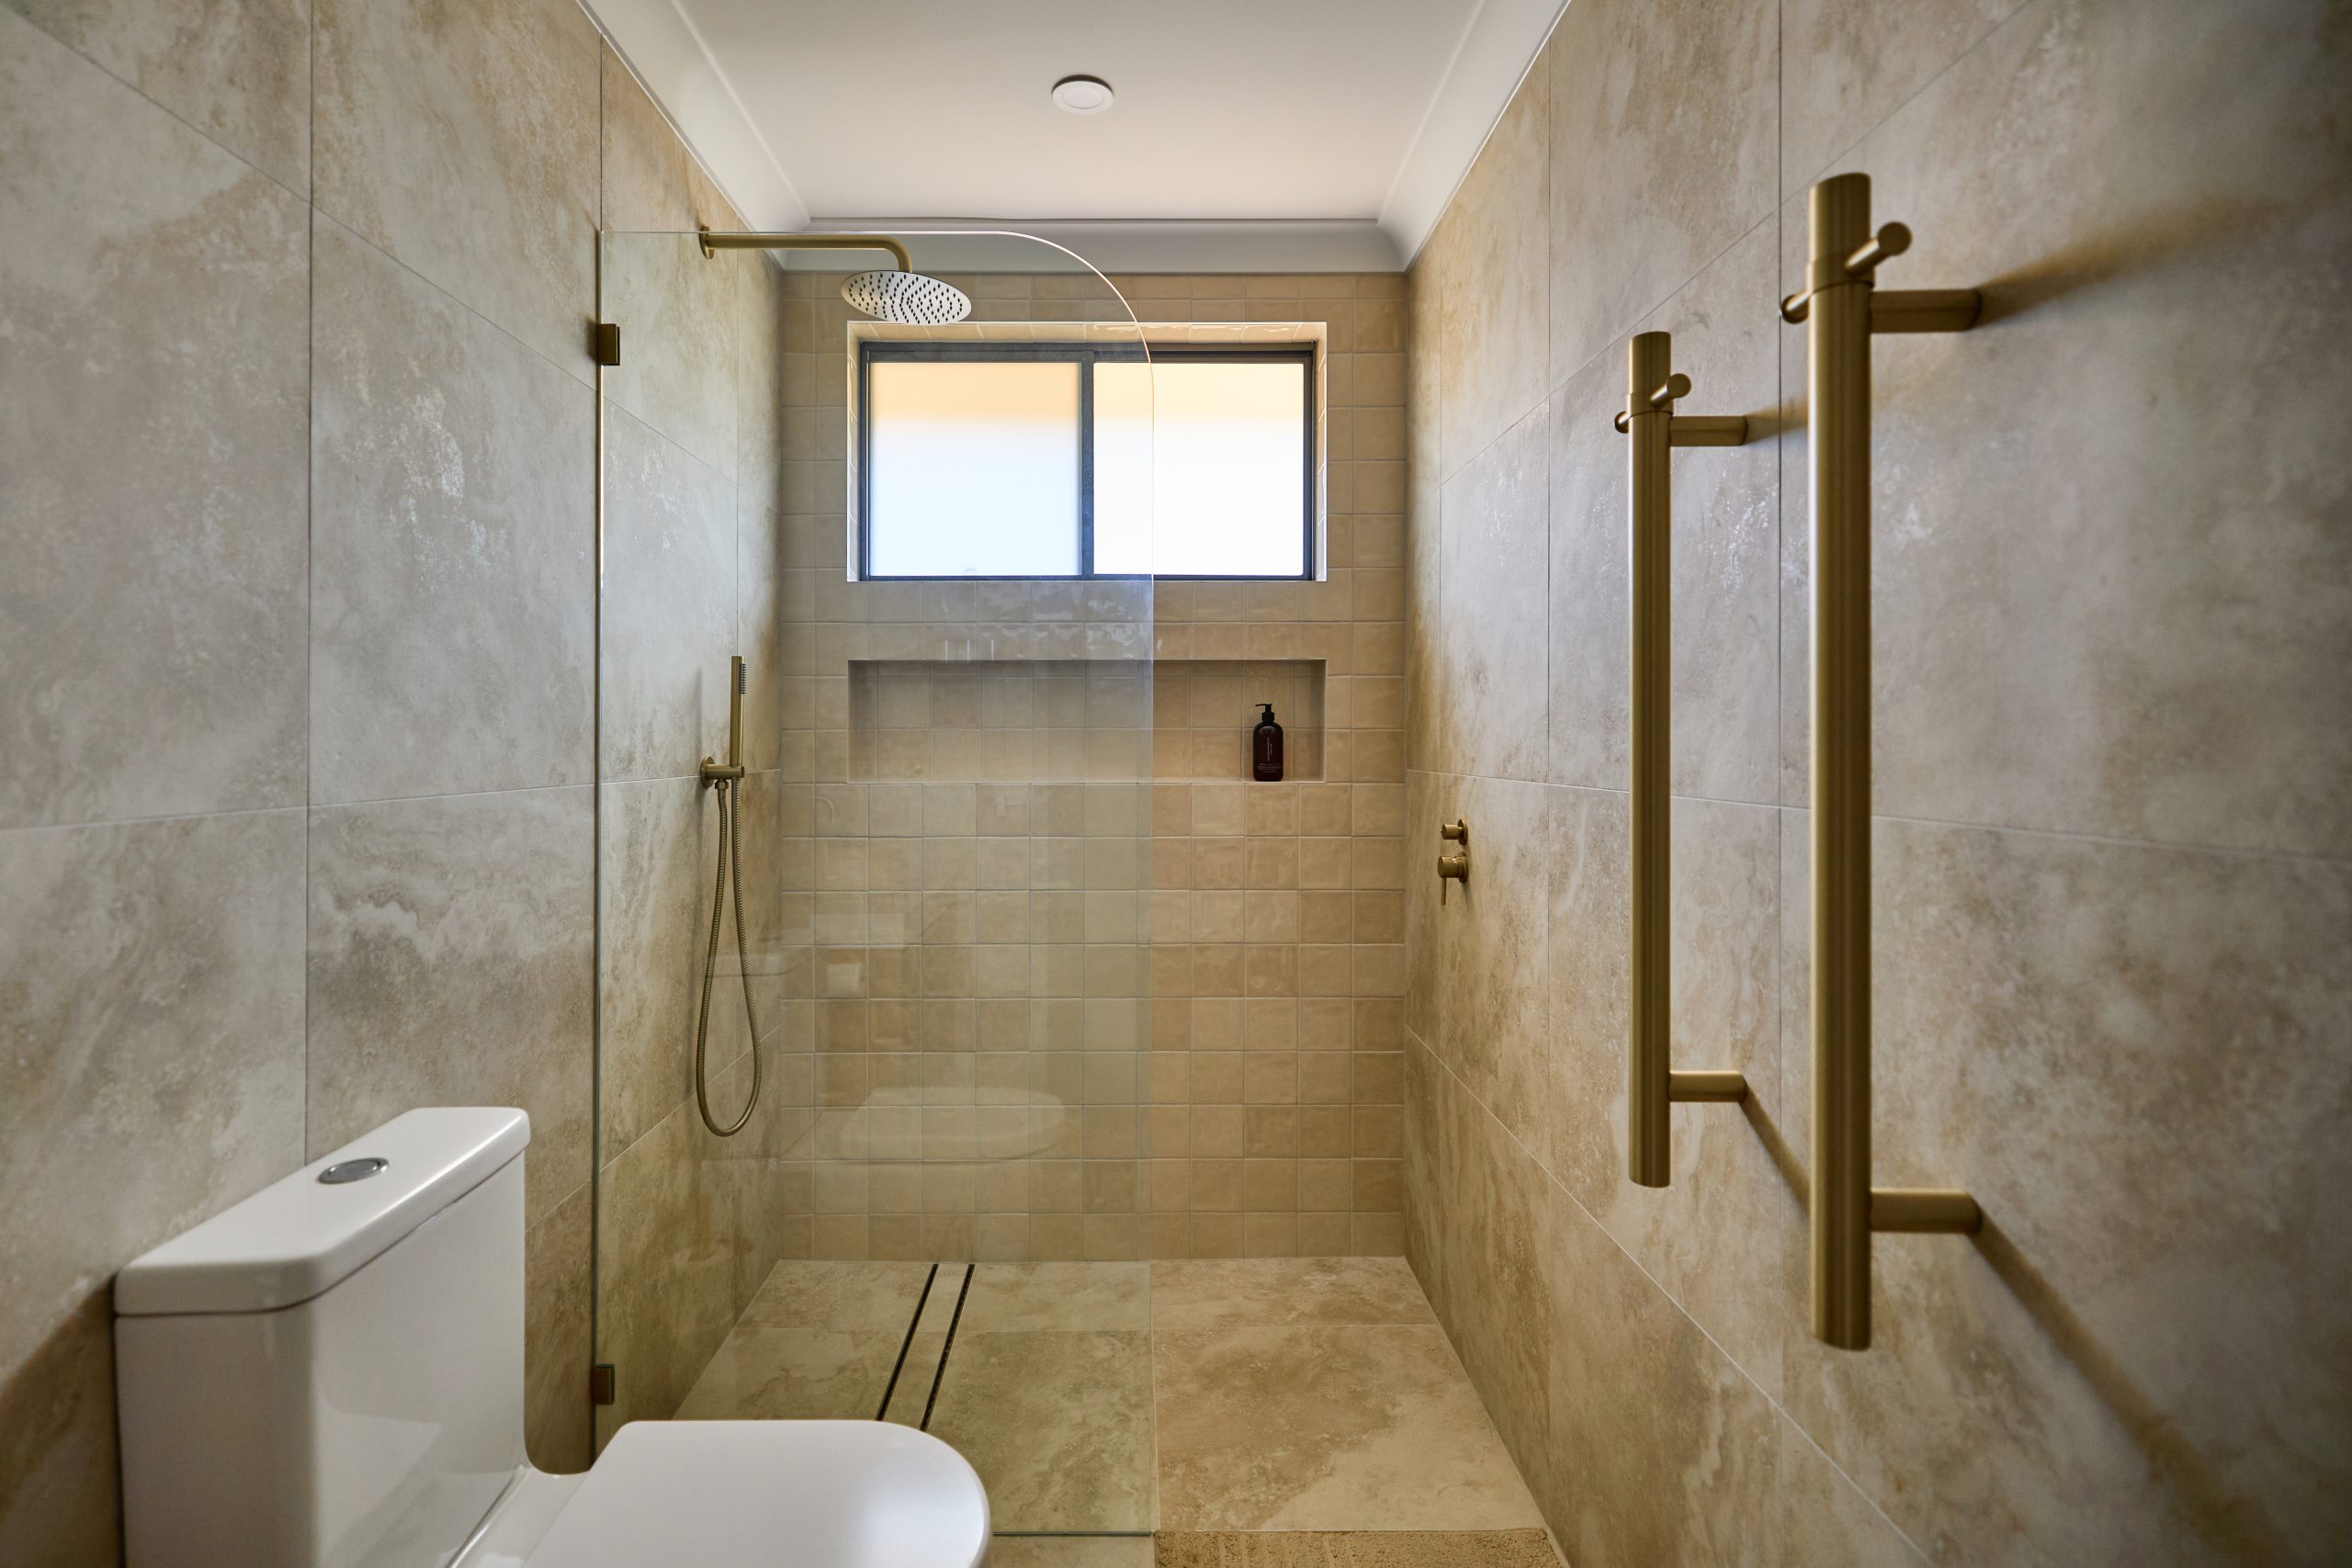
Texture is a big part of interior design, providing warmth to a room that wouldn’t necessarily be there otherwise. VJ panelling delivers texture and warmth; as a result of both additions, it also creates visual interest. It’s far more interesting than plain tile or wet wall.
In addition to its visual appeal, it’s versatile, coming in a wide range of colours, finishes, and styles. It’s easy to clean, enhances imperfect walls, adds charm to the space, and is easy to install. It’s a great addition to any bathroom renovation.
Three Easy Ways to Use VJ Panelling
Feature Wall
To create a focal point in your bathroom, you can use VJ panelling when renovating bathroom spaces. You can create a feature wall to draw attention and set it off with contrasting colours and decorative accents. With the visual interest, depth, and texture VJ panelling delivers, it’s a great feature wall addition.
Wainscoting
Wainscoting covers the wall’s lower portion, and VJ panelling is a popular option to create this effect. It’s a classic technique; it’s a great solution to reduce moisture issues and create a traditional bathroom aesthetic. It’s versatile, so you can adjust the height accordingly, depending on your preference, or to ensure it is true to the bathroom’s design.
It’s a job you can DIY if you are confident in your skills.
The first step in installing VJ panelling as wainscoting is to decide the right height and ensure your panels are cut to size. The most common height for this treatment is 90 cm to 120 cm. Measure from the floor up and mark the right height on the wall. Be sure to use a spirit level and pencil. Now, cut the panels to the correct height before applying the adhesive to the backs of the panels. Be sure to evenly spread it to ensure it creates a strong bond against the wall.
Now, it’s as simple as pressing the panels into position and using the spirit level to ensure they are installed straight. You can use finishing nails to secure them in place – aim for the grooves so the nails are concealed. Continue until all of your panels are in place. Use wood filler to fill gaps or holes and sand once dry before painting or staining. You should finish the job by caulking around the edges – it gives a finished look and seals the seams.
Ceiling Treatment
You can install VJ panelling on your ceiling to create a unique design element that conveys a cozy cottage-core feeling. It also addresses a more practical consideration – moisture resistance. It adds a touch of sophistication and can be used in various ways to create architectural interest and transform your bathroom renovation in Sydney.
Tips for Successful Installation
VJ panelling in your bathroom renovation is a great idea, and tackling the project yourself can be rewarding. It’s essential to consider certain factors to ensure the job is successful.
The first is whether you plan to install it in a wet area. You should always choose moisture-resistant materials in the bathroom, which includes VJ panelling. The bathroom has high humidity, and MDF is a better choice to withstand that moisture level.
You must consider how VJ panelling will interact with new fixtures and fittings or the ones you plan to keep, whether it’s mirrors, sinks or vanities. You need to ensure the installation won’t interfere with how anything functions or prevent maintenance activity when necessary. Maintenance-wise, ensure the VP panelling you choose is suitable for use in the bathroom and easy to clean.
The colour and finish you choose can impact the bathroom’s overall ambience, so be sure to consider how the lighting works with the finish and whether it will all work once complete.
While it’s something you can install yourself, consider your level of expertise before you do. It might be okay to handle it outside wet areas, but the professionals will deliver precise, secure installation in those damp areas that rely on proper waterproofing.
How Crystal Bathroom Renovations Can Help
If you’re upgrading bathrooms in Sydney, look no further than Crystal Bathrooms. Whether you have a fully formed vision and want our designers to create it in 3D or need professional ideas, our team will make your dreams a reality. We will be with you every step of the way, from design to handover. Contact the team if you’re ready to discuss your options and start planning your bathroom renovation.