In What Order Should I Renovate My Bathroom?
So, you’ve made the decision to do a bathroom renovation. Maybe the old bathroom needs a few modernising upgrades, or you’re doing a whole house reno and the bathroom is the last room on your list. Either way, you may be a little overwhelmed and wondering where to start.
That’s why we’ve created this guide to help you plan your bathroom renovations a little better and keep the excitement of a new bathroom high and your stress levels low.
Planning for Perfection: Laying the Foundation for Success
Bathroom renovations, like all renovations, run more smoothly when meticulously planned. Here are a few things to consider when planning your bathroom renovation in Sydney.
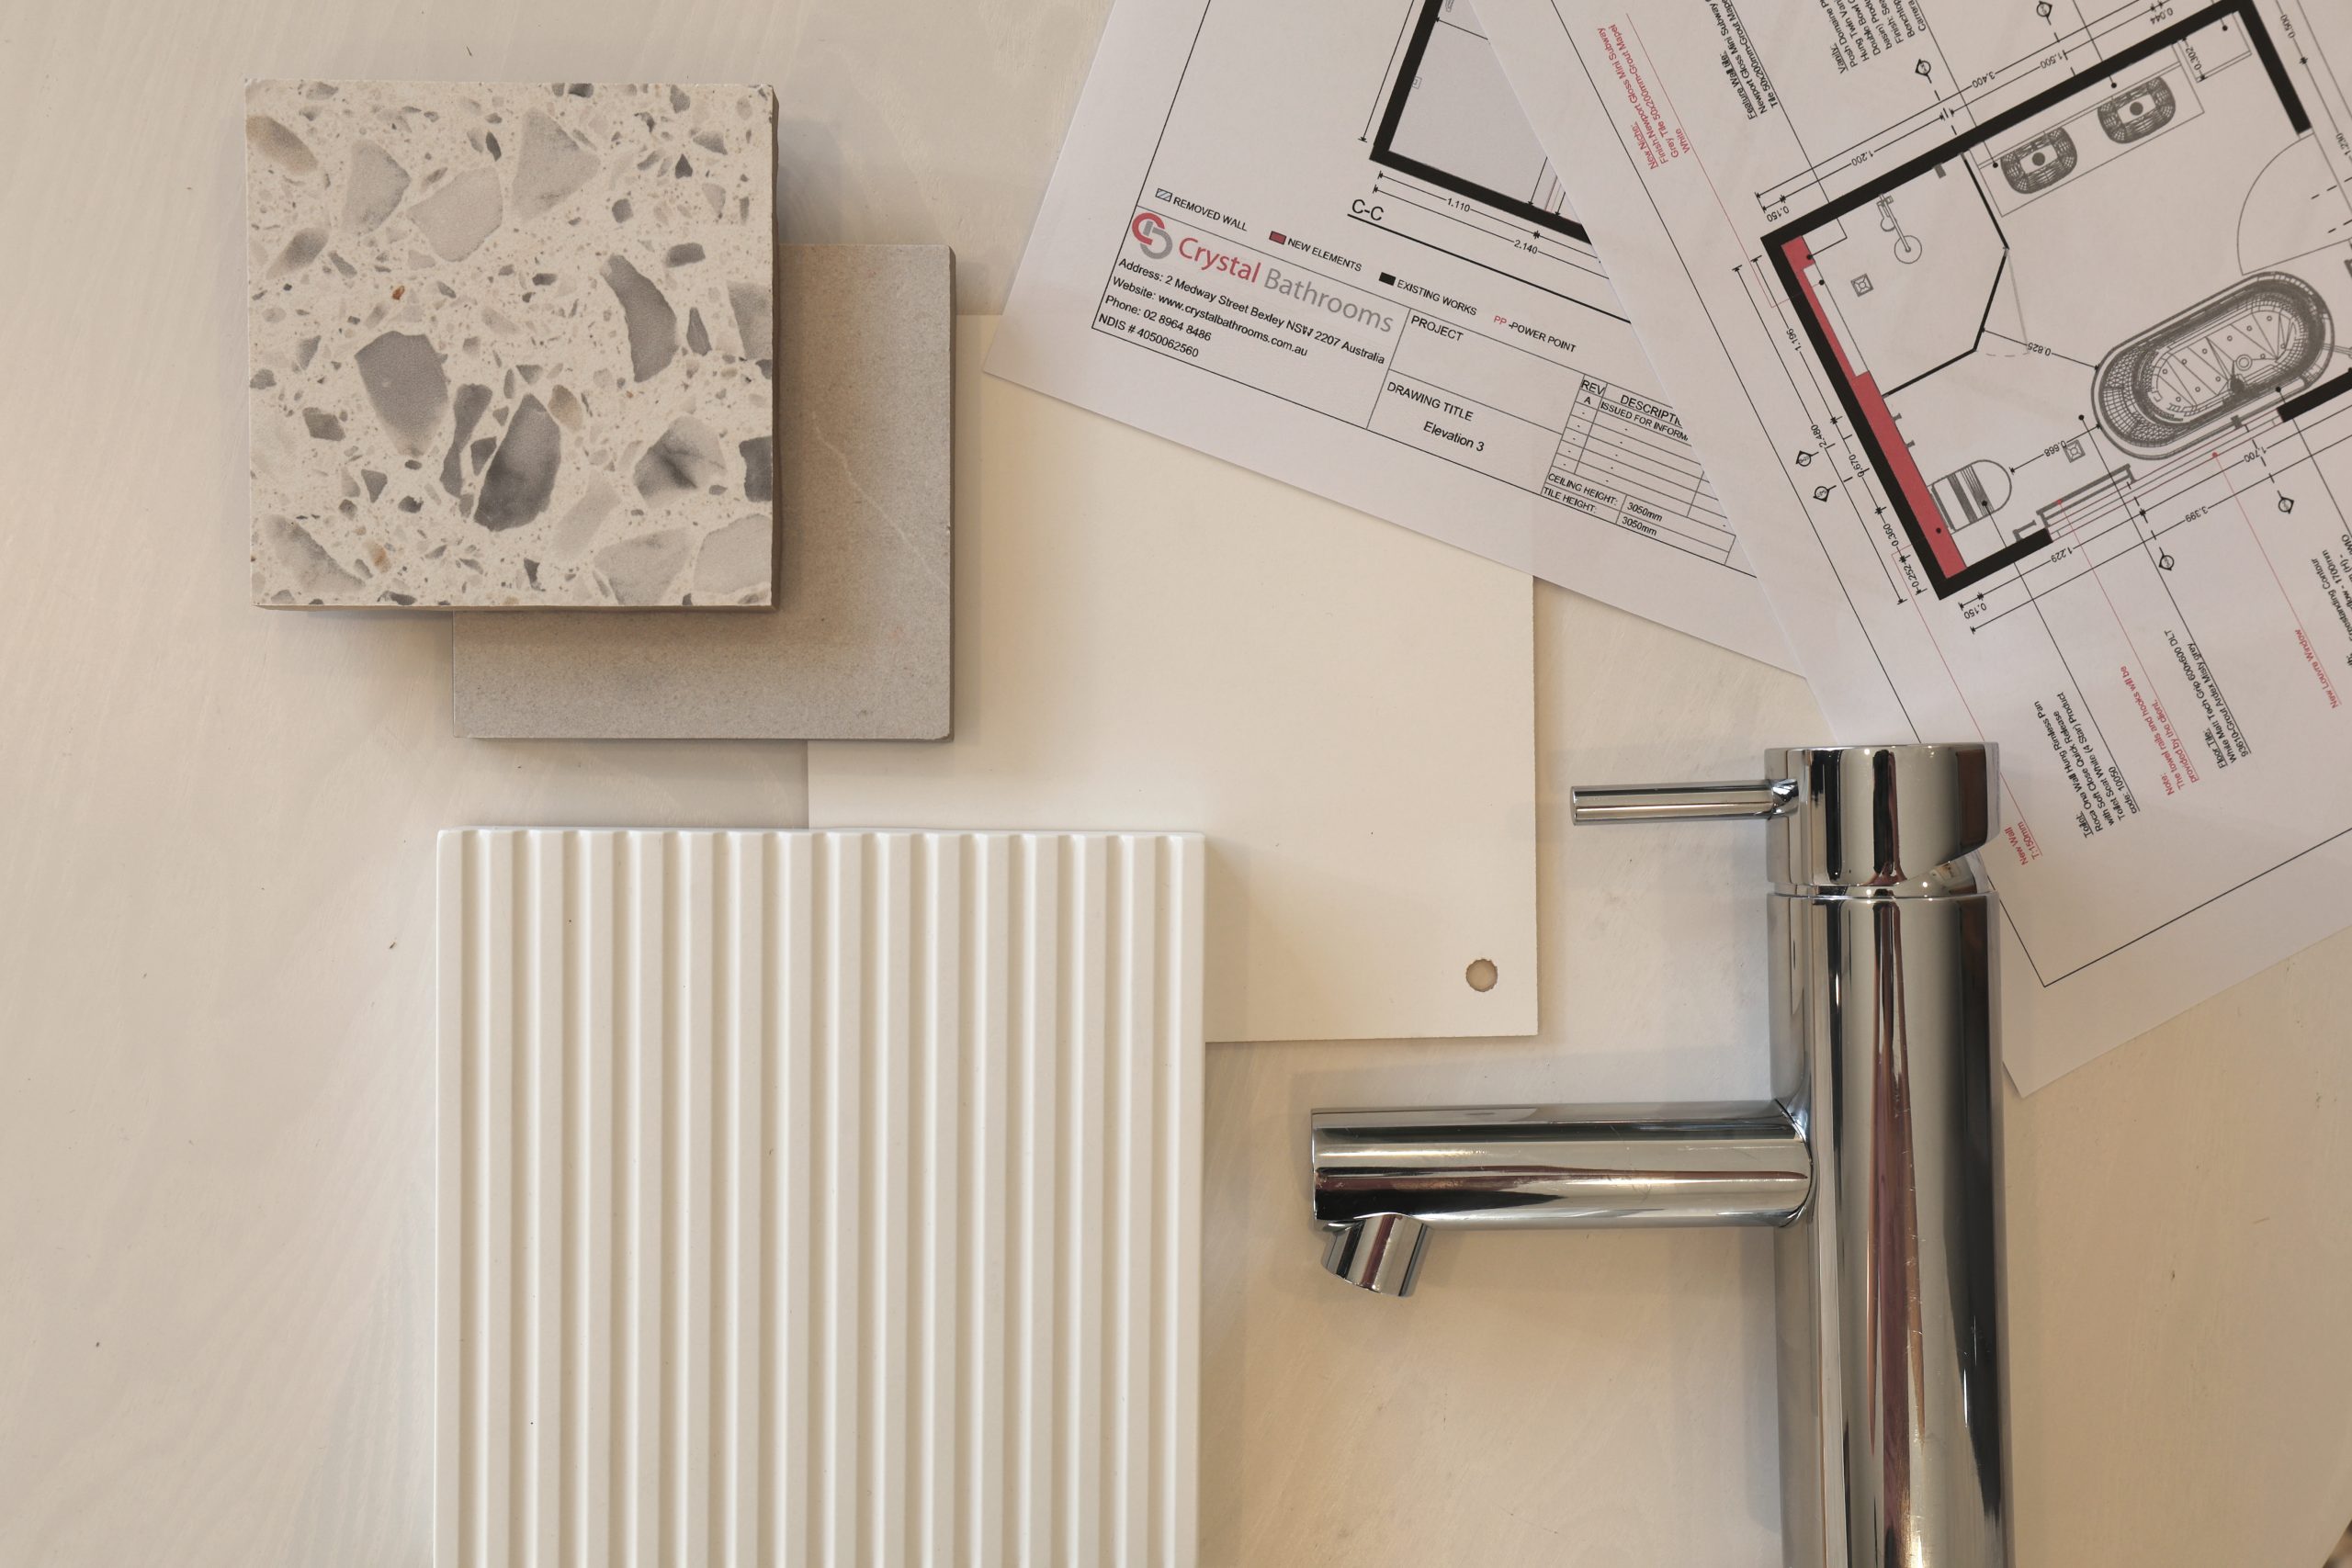
Define Your Budget
Before you begin renovating your bathroom, you should have some idea of how much you’re willing to spend on the project. This will help your design phases of your project and choosing your materials. Work out your material costs beforehand and set aside roughly 15 to 20% of your overall budget for unexpected price increases or other delays that can affect the cost of a project.
Design
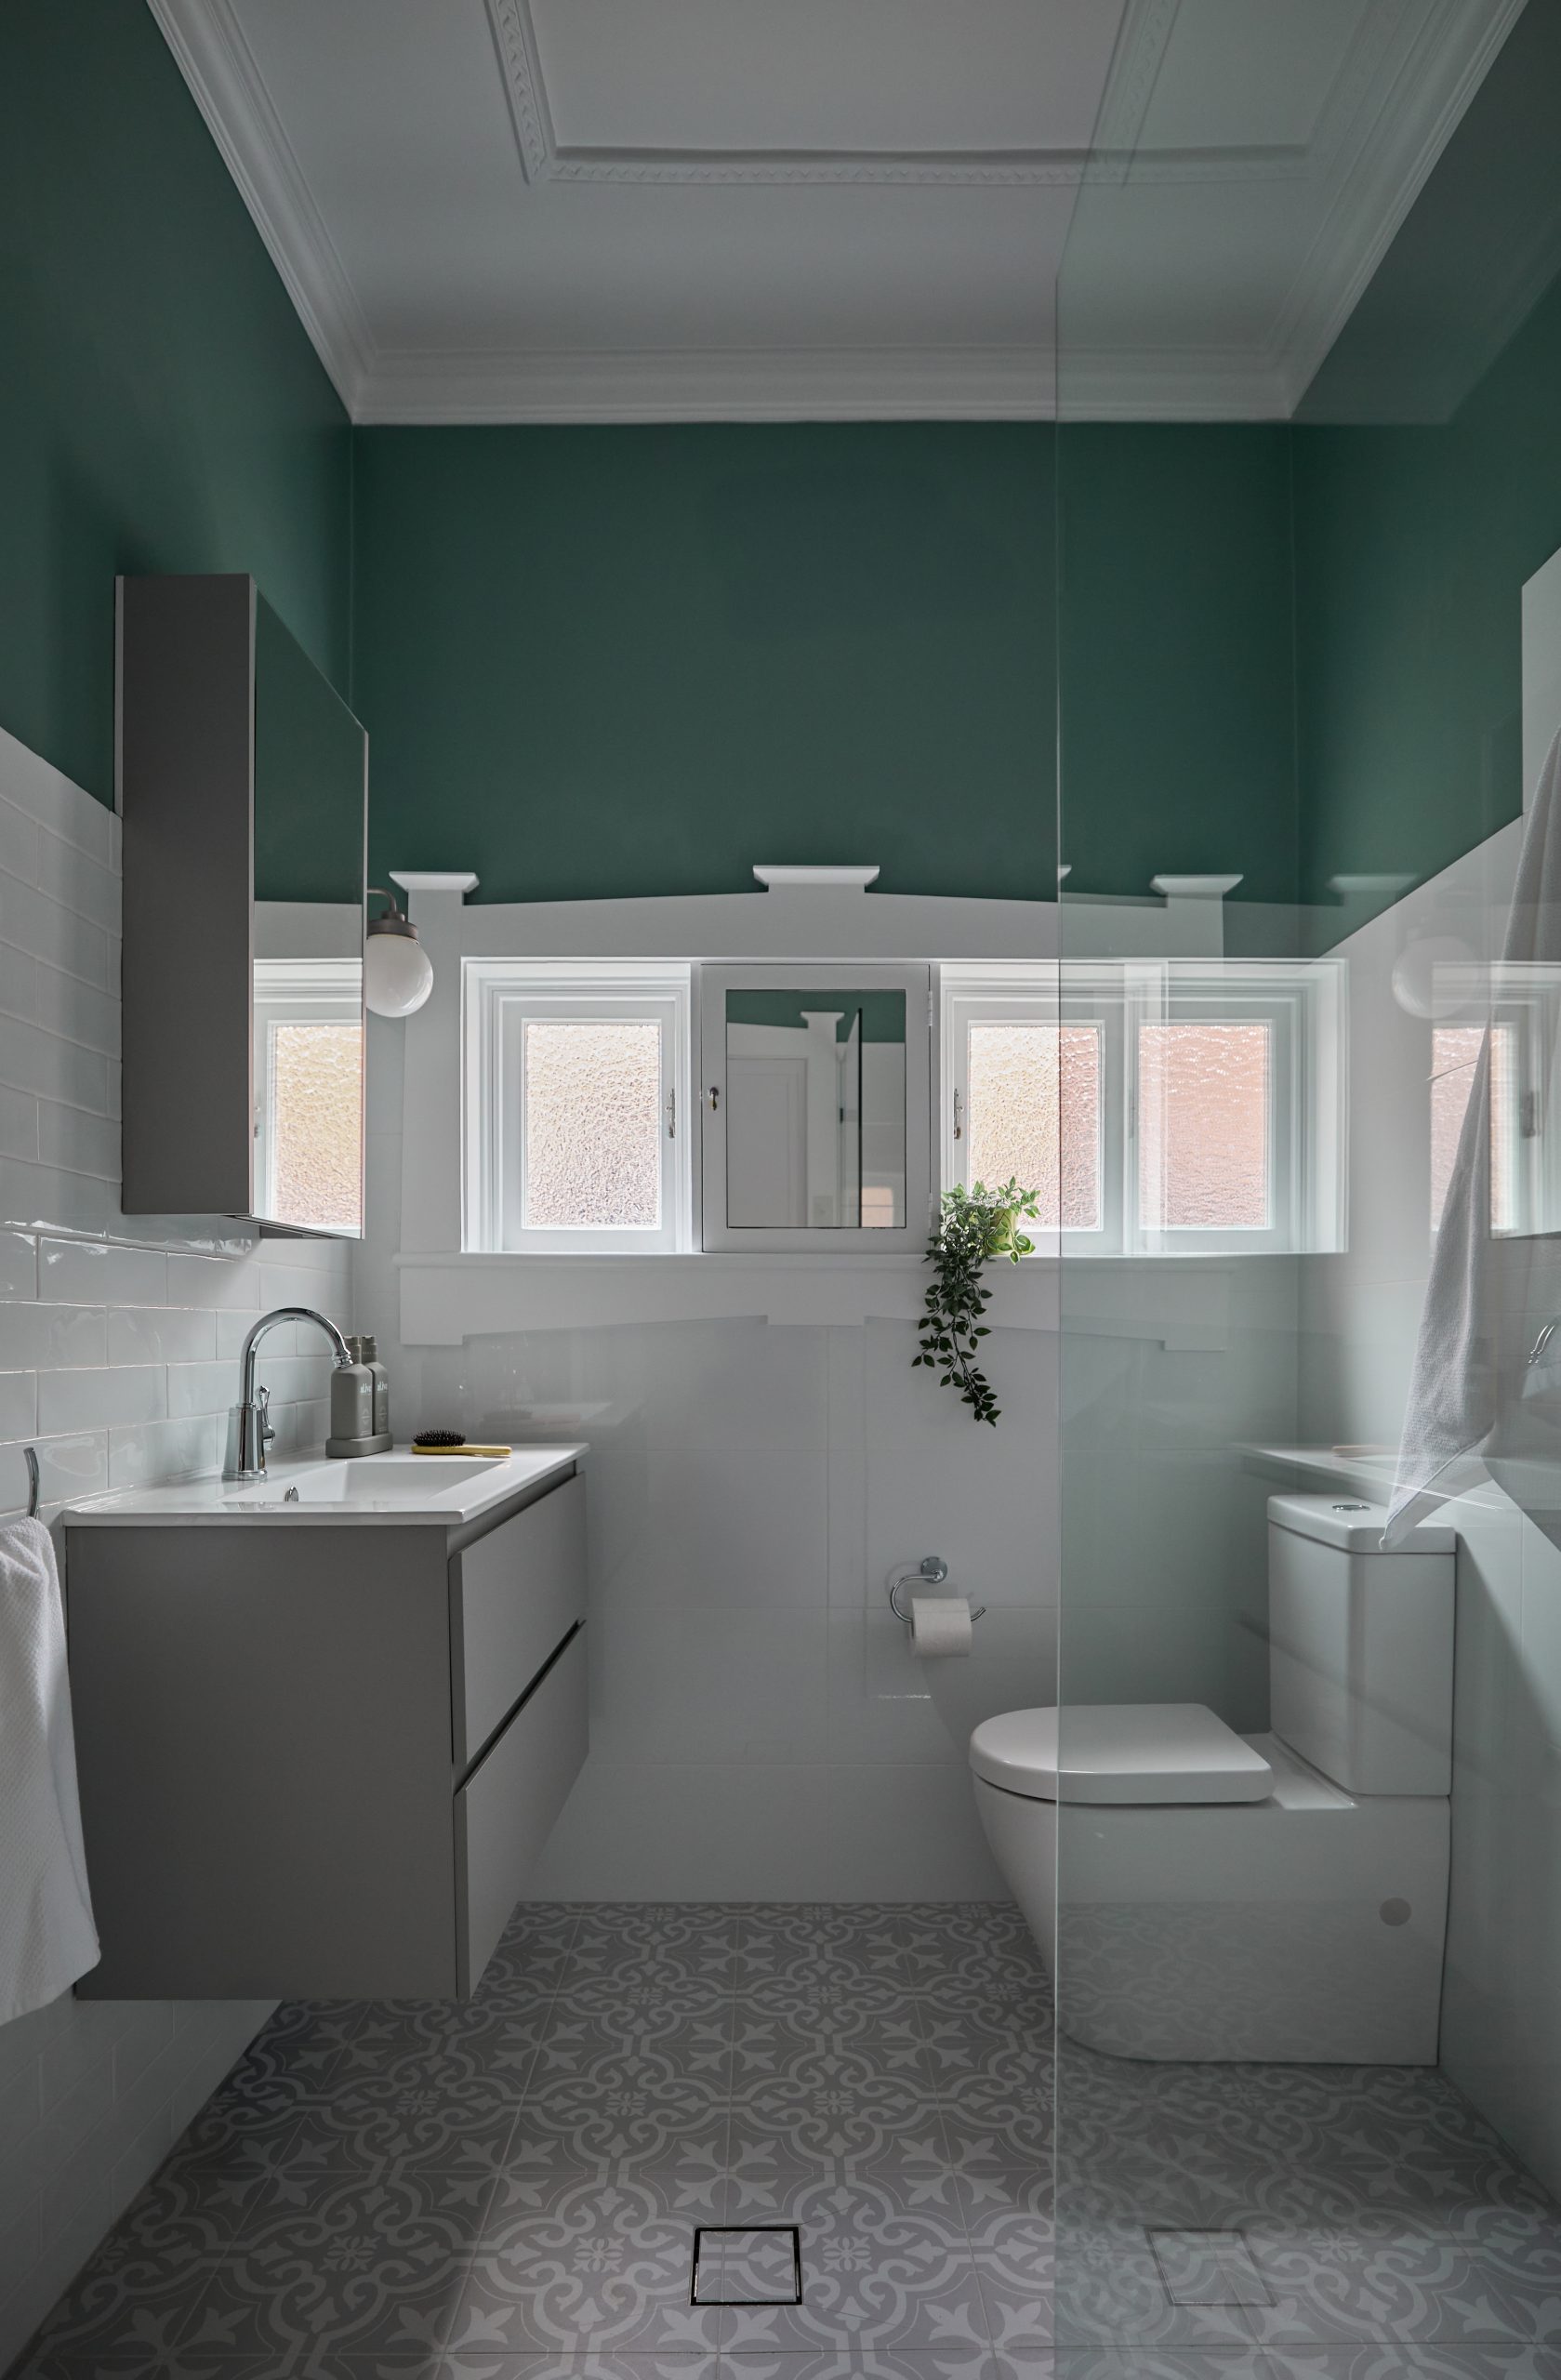
Try to decide on an overall desired aesthetic and design style. Do you want a modern look, with metallic finishes and darker colours incorporated into the design? Or something a little more rustic, with lots of natural woods and a green colour palette? Perhaps you’re looking to let in a lot of natural light with large windows and white marble or porcelain tiling to give the appearance of a larger room?
Choosing an overall design aesthetic will greatly help you make difficult choices when it comes to more the decorative elements of your bathroom renovation.
Seek Guidance
If you’re struggling, seek guidance of a professional interior designer. We employ interior designers at Crystal Bathrooms to help you pick out the perfect bathroom aesthetic.
Demolition
Now comes the fun part: taking stuff apart! Everyone loves a good demolition job and no bathroom renovation is complete without it! Whether you’re tearing down the walls to expand your bathroom, or just upgrading the existing space, taking out old cabinets, vanities and even removing that old dilapidated bathtub is plenty of fun! Once you’ve completed the demolition, your bathroom renovation can begin.
With Plans Finalised, It’s Time to Clear the Decks
Once you’ve laid out a concrete plan for how your bathroom renovation will happen, it’s time to take some basic steps to leave you with a clean slate to renovate from.
Turn Off Utilities
The first step to take before you begin any bathroom renovation is to turn off your utilities. Use the power breaker to turn off the electricity to the bathroom and turn off the water at all taps in the bathroom in the under-sink or under-bathtub piping.
Strip it Down
The next task is to remove all of the furnishings, vanities, etc, from the bathroom floor to give clear access to the entire space. This will also allow you to get a better idea of how much space you’re working with. Take some measurements of how much space you’ve got, this will help when framing in showers, tubs and vanities.
Access the Substrate
Before you lay your flooring, it’s important that you have clear access to the substrate underneath your floor. If you’re putting in-floor heating as part of the bathroom renovation, then substrate access must go all the way to the subfloor itself, whether that’s OSB or another type of subfloor.
Laying the Groundwork for Your New Bathroom
Next, you’ll want to lay the groundwork for what your new bathroom will look like.
Plumbing
At this stage, you should contact your professional plumber and have them come in and install your new water pipes, toilet, bathtub or shower piping and address all other plumbing needs.
Electrical
Also reach out to your electrician and have them come in and install plugs, switches and run all of your electrical wiring. If you’re installing in-floor heating using geothermal or hot water, your plumber and electrician may need to work together.
Framing
Contact a carpenter to have them frame up your cabinetry and vanity prior to installation, as well as any walls you’re installing or removing to expand the space.
Waterproofing
Waterproofing is essential in any bathroom and should not be overlooked during your bathroom renovation. Hire a professional bathroom renovation team to ensure that your new bathroom is fully waterproof.
Steps to Follow For Proper Waterproofing of a Bathroom:
Membrane Application
The first step in waterproofing is to apply a waterproof membrane between all of the seals and seams of your bathroom substrate and around all plumbing fixtures.
Drainage Installation
Next, bathroom drains should be installed in a central location that’s sloped to allow gravity to do it’s work. There are many styles of drains, so you can find one that works for your bathroom renovation aesthetic.
Testing and Inspection
All waterproofing should now be tested and inspected by professionals. Any failures should be immediately rectified.
Seeing Your Vision Come to Life
Next it’s time to see your vision come to life!
Flooring and Tiling
Once you’ve got a waterproof bathroom substrate, it’s time to pick your flooring for the bathroom! Whether you’re going with laminate, real wood, or tiling, or a combination of those, there are many options to choose from.
Vanity Installation
Once your flooring is laid, you can begin installing your new vanity. Ensure that your measurements between the vanity and all doors in the room are correct before installing! You don’t want a surprise when you try to open (or close) the door, but can’t as it hits the vanity!
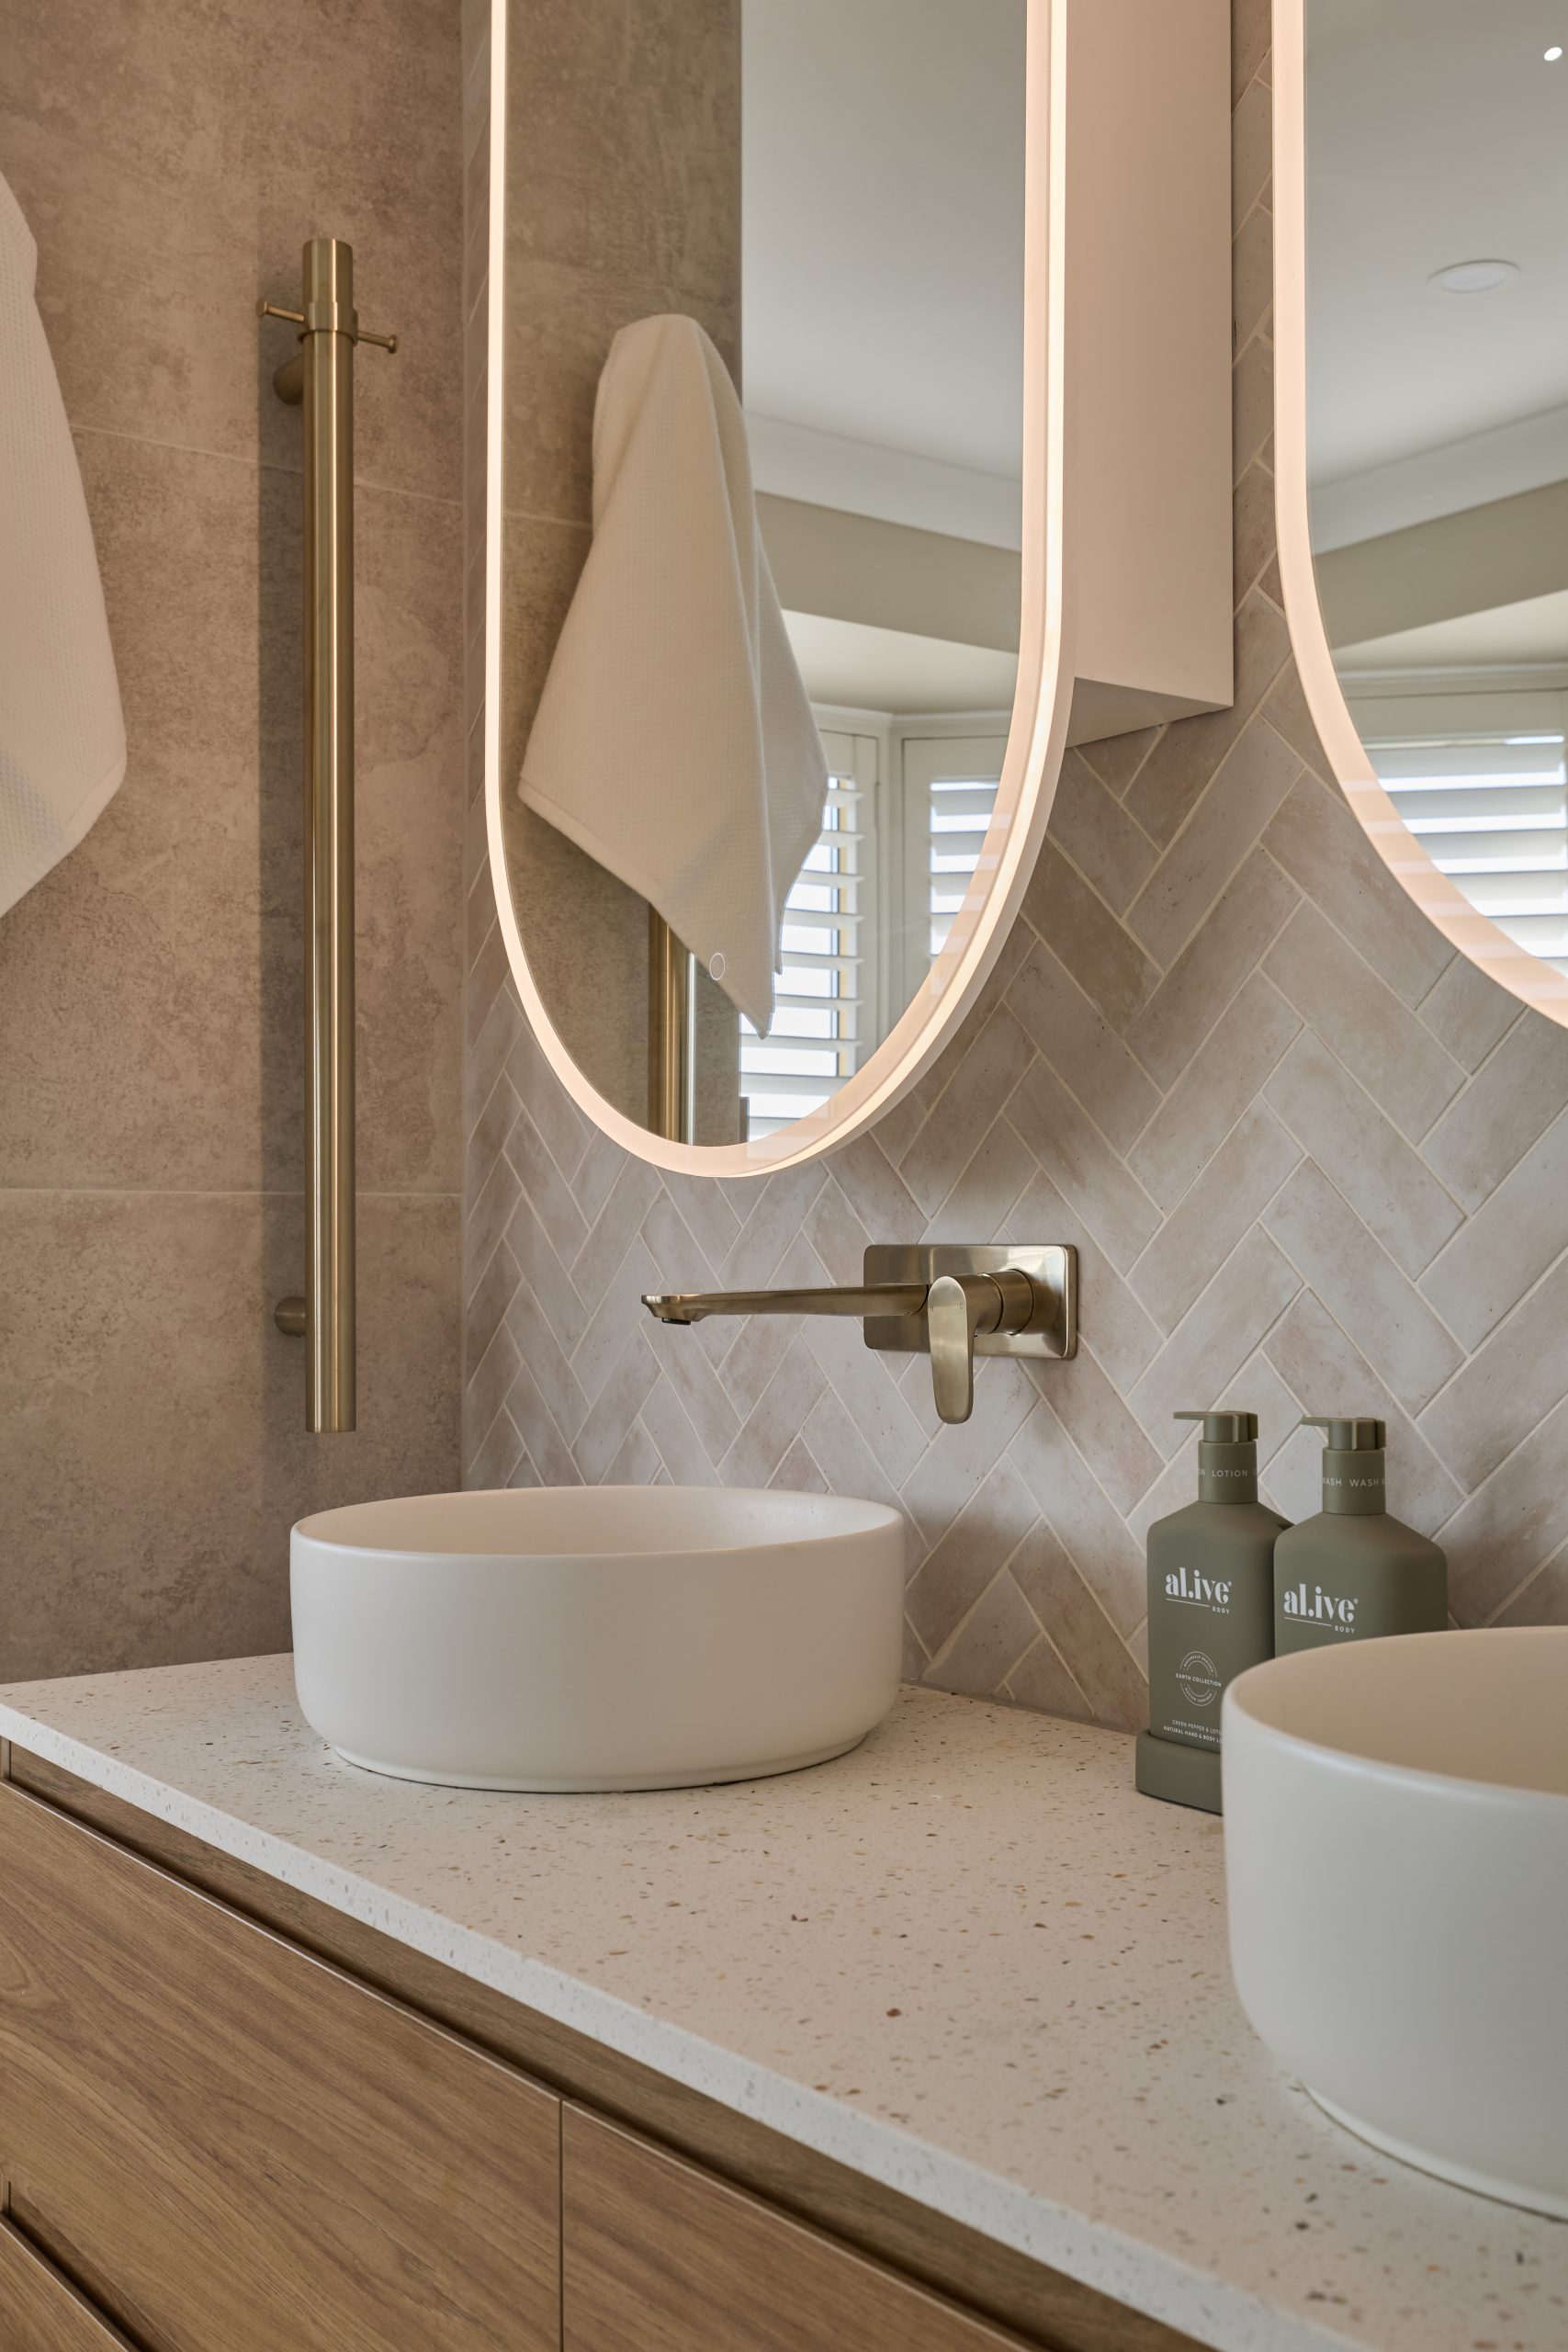
Fixture Fun
Next it’s time to choose your plumbing fixtures! Are you looking for something a little more rustic, like gold or brass? Or are you going with a modern metallic look? Do you want special features like motion-detection on your taps? Have fun with your next fixtures and get the look you want!
Lighting and Ventilation
Time to shine some light on the situation! Choose your lighting wisely and consider the impact of natural light on your new bathroom. Also, have a professional HVAC technician install your ventilation.
Finishing Touches
Time to put the finishing touches on your new bathroom!
Cabinet Doors and Drawers
Install your cabinet doors and drawers! Make sure you leave ample space for all bathroom accoutrements and that all cabinet doors open and close unobstructed.
Mirrors and Accessories
If you’ve always wanted a large bathroom mirror, now is your chance! Time to hang the mirror on the wall and add any other accessories to your space: towel racks, hanging hooks, that sort of thing.
Silicone Sealing
Once your vanity is in place, you can use silicone to create a waterproof seal between the back of the vanity and the wall. Ensure that silicone is also placed around the edges of the sink and around any bathtub or shower where there is the potential for water to leak through.
Cleaning and Inspection
It’s time for a final cleaning and inspection of your new bathroom by yourself and a qualified, licensed home inspector. Once you’ve received the nod of approval from your home inspector, you can freely use your newly-renovated bathroom!
Final Thoughts
As Sydney’s premier bathroom renovations company, we at Crystal Bathrooms understand that careful planning and consideration of every detail of your bathroom renovation is necessary. We hope our guide has been useful to help you with your next bathroom renovation and as always, if you need bathroom renovation guidance, support, or a team to complete the job, contact us today!